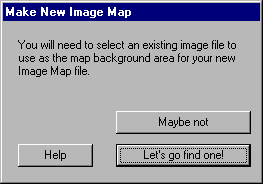
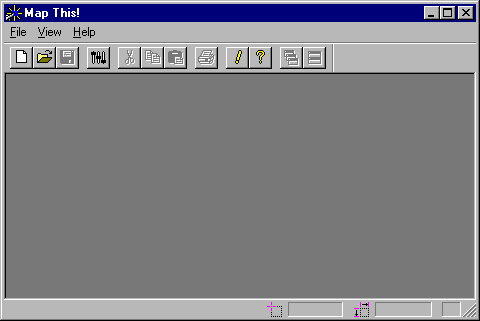
Click on file and then new to create an image map.
example 3-2
Click on file and then new to create an image map.

example 3-3
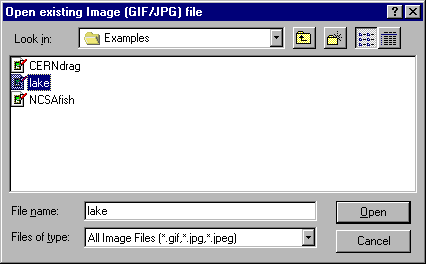
When you click on "Let's go find one!" You will then see the following. This allows you to search for the image that you want to use.
example 3-4
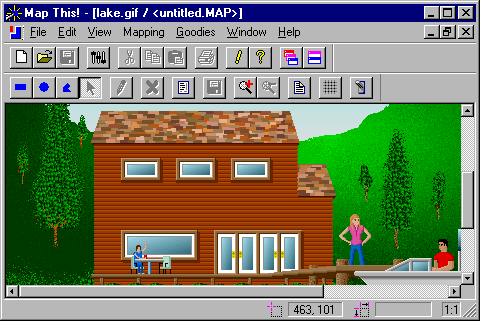
Here you will see the image that comes with Mapthis!. This screen will show whatever image you have selected.
example 3-5
When you click on the blue rectangle, you can begin the process of setting up your map.
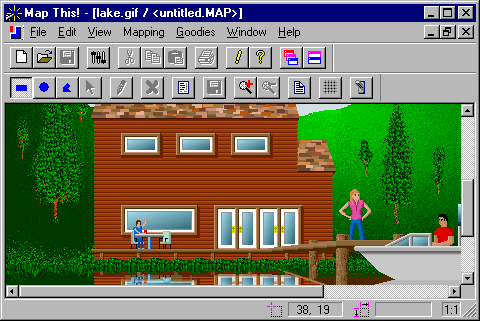
example 3-6
After you have an area chosen, click on the arrow.
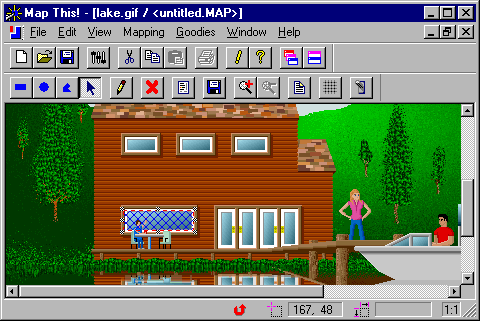
example 3-7
Then double click on the area that you have specified, and it will bring up the following box. Then type in the URL of the page, or site that you want the viewer to be able to go to, and click ok.
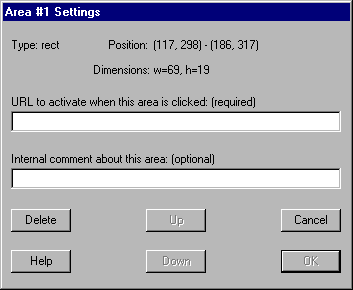
After you are all done, selecting the areas, and specifying the URL's, you can save your map as either client (CERN) or server side. (NCSA). Then you can add the image map text to your HTML document, and call up the map. When you click on the map, it will take you to the site specified.