Creating your own graphics


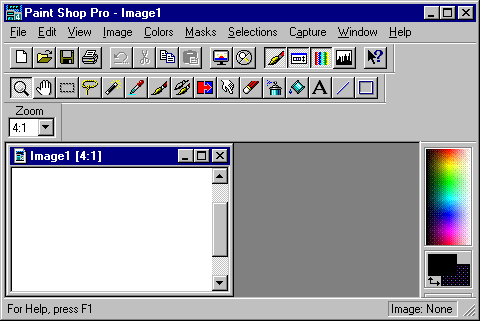
If you are feeling adventurous, or you are not comfortable with borrowing your graphics from other sites, than you can create your own. You can use any graphics editing program that you choose. Here you will be shown how to create a simple button, and a background. After that you can create your own graphics. For this sample, you will use a program called Paint Shop Pro which you can download on a trial basis from download.com. This program is easy to use. When you first open the program click on File and then new, and you will see the following screen:


Choose the size that you would like to have your image, and then click OK. and then you will see the next screen,


Here, you can click on the button that looks like a bucket of paint, and then go down to the color pallette and choose your color. Next move over to the image, and click on the center of it. This should give you that colore across you image. When you are done with that, move your mouse up to the button that has an "A" on it, and click it. Then move your mouse down until the cursor is in the center of your page, and left click. This should bring up a screen that has "add text" at the top, here you can choose the style and size that you want your text to be. When you get done making your selection, click OK. Now your text should appear on your image. If it does not look like you would like you can click on the undo arrow at the top, and then try again. If it does, and it is where you want it to be, then right click on the image. (This will make your text permanent.) Then click on image up at the top of the screen, slide your cursor down to "Special Effects", and over to "Buttonize". Click on buttonize. This will give you a different screen where you can make a selection and preview how your button should look.

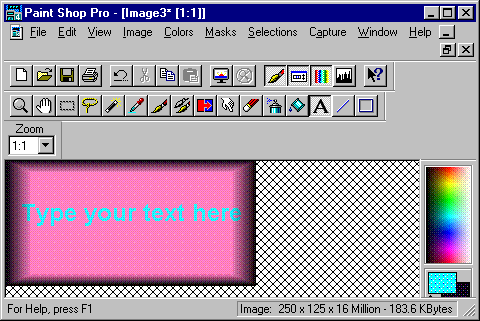
When you are finished, the button should look something like this. If it is acceptable to you, click file and then save as....to save your image.


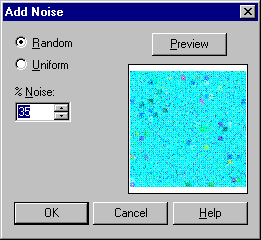
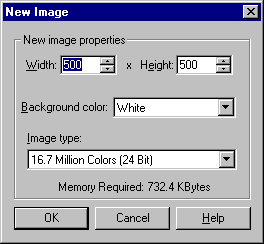
Next you can try and create your own background. To do this, click on file and then new. Select your size. (Better to make it small.) Then chhose your color. Click on the bucket. Then click on the center of your image to distribute the color. From here click on Image up at the top, go down to "Special Filter" and then over to and click on "Add Noise." Then select the amount of noise that you would like to have, and it will preview it for you. When you reach the desired effect, click OK. Then click on file and save as....to save your image.